Milestone #3 - Level Progression & Power Ups
Hello again! 
So much for shorter, and more frequent update logs. I've noticed that for my previous milestones, I've tended to over assign myself tasks. Milestone #3 for example had 11 unique tasks on my Trello board. Going forward I will be trying to priorities 3/4 tasks per milestone. Hopefully this will help me make more regular updates.
Memory Optimization
The first area I tackled was the game's use of memory. Whilst playing I'd noticed that the memory readout in Visual Studio was always steadily increasing, even if I was repeatedly loading the same level. Ideally, there should be no new memory needed to reload the same level, as the level's assets should already be loaded, and various class data should be cleared and recreated. To investigate this issue, I used the memory tools in Visual Studio, taking snapshots of the heap and comparing them with the same level after a reload.
I found some mistakes I'd made in my engine code, suggesting it wasn't clearing my components and entities as I expected. I fixed these bugs, and also moved a large chunk of my core engine code over to 'Smart Pointers'. By using them, I hoped to catch any odd cases where I'd missed the clearing up of an object, as they would delete themselves when they go out of scope.
Input Modes
Whilst playing around with the build, I discovered a missing feature. Whilst I had coded support to use a Game pad or a Keyboard, I'd failed to implement any way to swap between the two. One was simply declared at the start of the game, and that was the only input device we checked. To rectify this, I added a variety of 'Input Modes'. These will dictate how new controllers are handled by my engine. In this case, the current 'active' input will switch depending on the last input device to send an input. This way it is possible to switch between Game pad and Keyboard on the fly.
Task Manager
Another engine feature for this milestone was to implement threading into the engine. I achieved this using a task scheduler. Each frame, the Task Manager will run through it's list of tasks, performing them over 6 waiting threads. Once all tasks are complete, then we move onto the rendering phase of the frame. I moved most of my component update logic into tasks, and introduced mutex locks through out my code to ensure that resources aren't accessed by several threads at once. Whilst there was no noticeable performance improvement, as the game itself is still quite simple, this feature was a fun learning experience.
Power Up #1 [Spoilers]
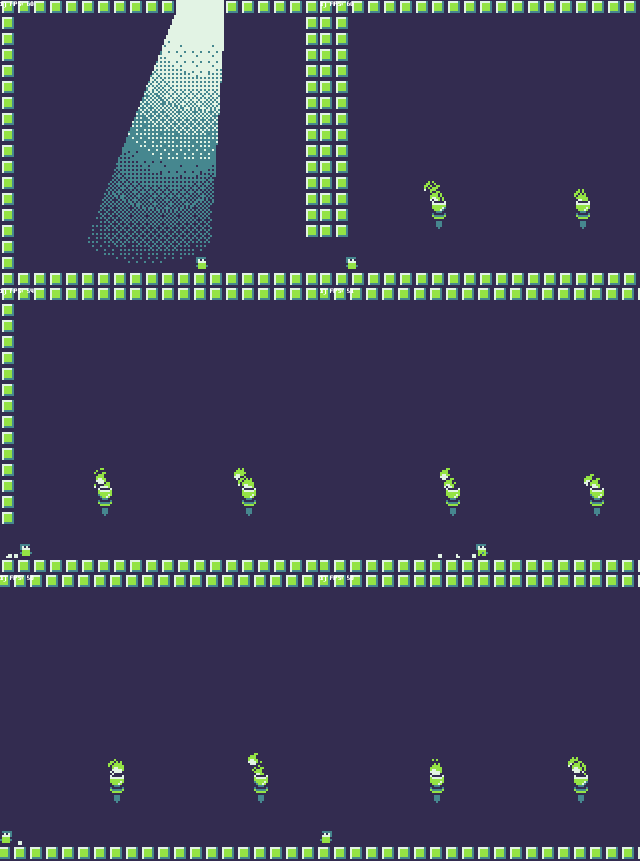
Some mild spoilers now. As part of the metroidvania design, I was thinking of some unique power ups I could introduce to the gameplay. In particular, I'm a big fan of games in this genre, that introduce movement mechanics that allow you reach previously unreachable areas. For my first power up, I have decided to 'unlock' the ability to go left. I believe that at one point this was a technical limitation, and can be seen in games such as 'Super Mario Bros'. I feel that initially locking the ability to go left, would fall inline with the Gameboy aesthetic that I am trying to imitate. Implementing this feature was surprisingly easy, and integrated well into my existing camera system. I also added a power up object, which would 'unlock' the camera once collected.
One-Way Platform Tweaks
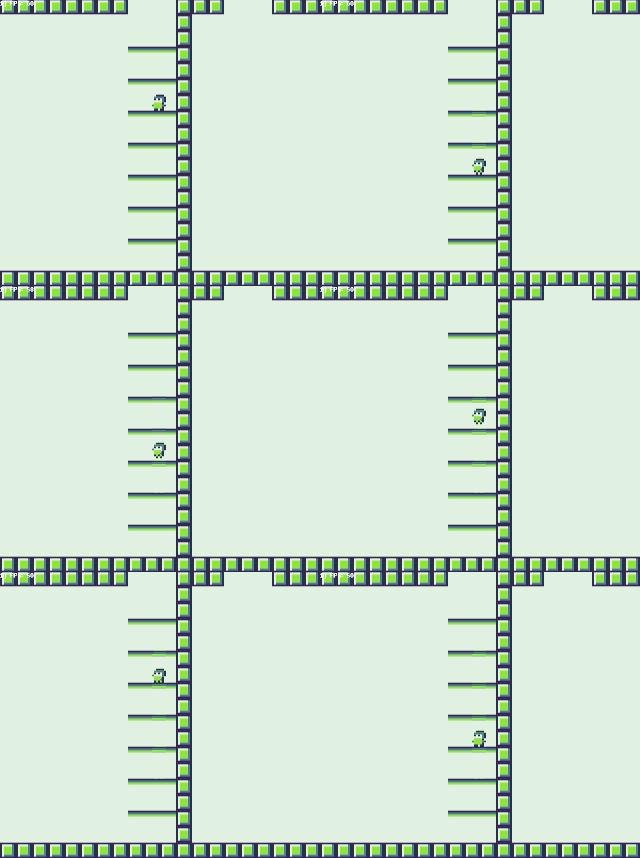
This milestone introduced several gameplay tweaks as well as some new elements. The first one I implemented was the ability to drop through one way platforms. This can be done by holding the 'S'/'Down Arrow' key and pressing the jump button.
Drop Platforms
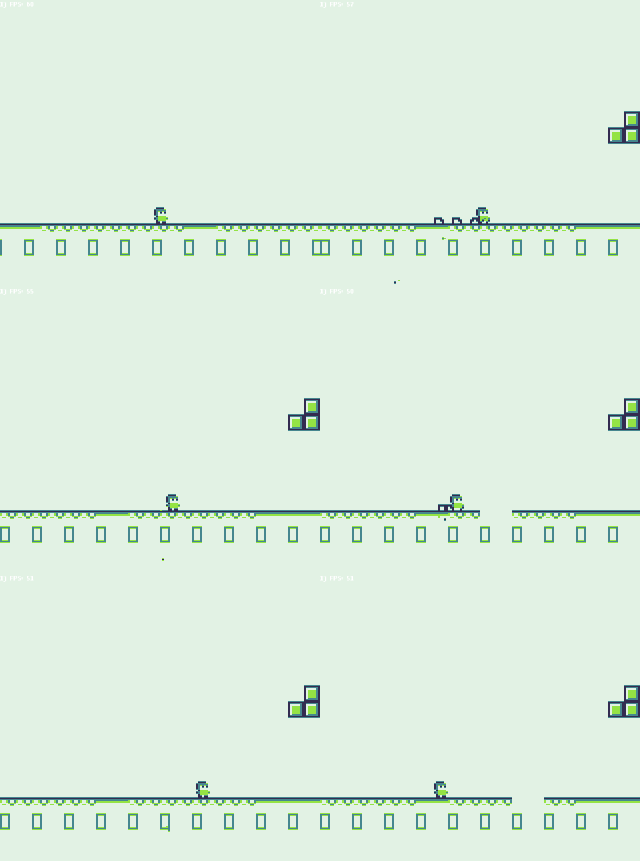
Adding further to gameplay, I implemented a checkpoint feature. At the minute this is invisible to the player, but I intend to tweak and improve it's implementation as I go. Currently, there are hidden checkpoint blocks which will mark the player's location as 'Safe', and hidden death blocks which will move the player back to their last safe place. To demonstrate this, I implemented a very rudimentary 'Drop Platform'. This is a one-way platform which will disappear if the player stands on it for too long.
Group Block
The final feature level feature I implemented was a system I'm referring to as 'Group Block'. The idea behind it is to join several level elements together into a single group. This group will share one mesh and can be used to provide some visual effects, such as unique edges. The initial version of this system is being used to generate sand in the desert area at the beginning of the game. I wanted the sand to have a wavy pattern on it's surface, but for all blocks underneath to use as few meshes as possible. My initial version looked like this. Each coloured area represents a single mesh, with a 'surface' on top.
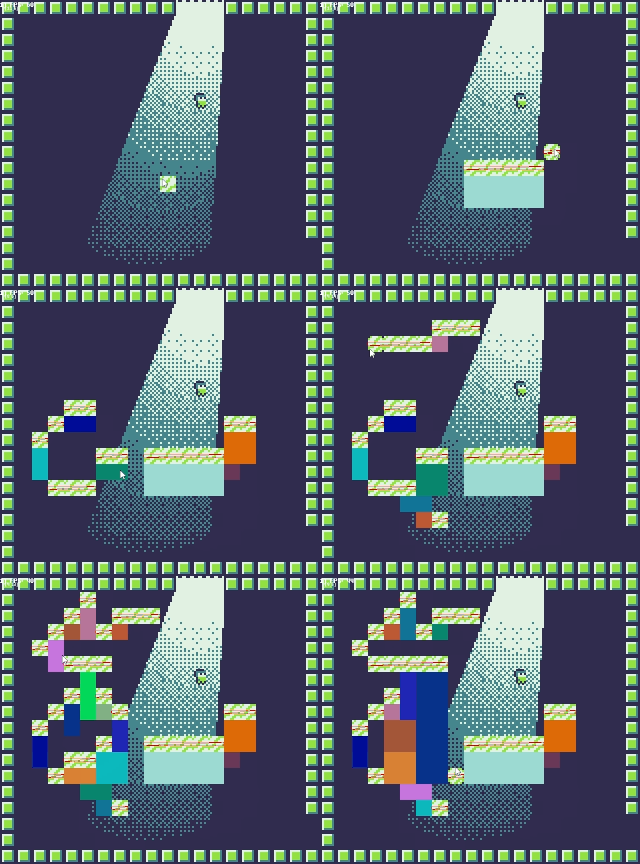
Building on top of that I was able to reach the final version, seen below. Each surface, is automatically split into several sections which are then placed at alternating heights that are one pixel higher or lower. I applied some tweaks to the player's rigid body to allow them to scale these one pixel heights without stopping.

I added some further tweaks, such as a particle effect for when the player runs and jumps in sand. As well as some dust falling off one way platforms. I also tweaked the player's jump to make it a bit faster and less floaty.
Level Editor Changes
I also made some significant changes to my level editor. These were all quality of life changes, to allow me to prototype ideas and mechanics. First I implemented a UI toolbar and toolbox. The toolbar holds up to 10 'active' items. Clicking on one will allow me to place it in the scene. The toolbox contains all loaded level elements. By selecting one, it will take up the first empty space in the toolbar. This idea was inspired by the tools of 'Mario Maker 2'.

Multiselect
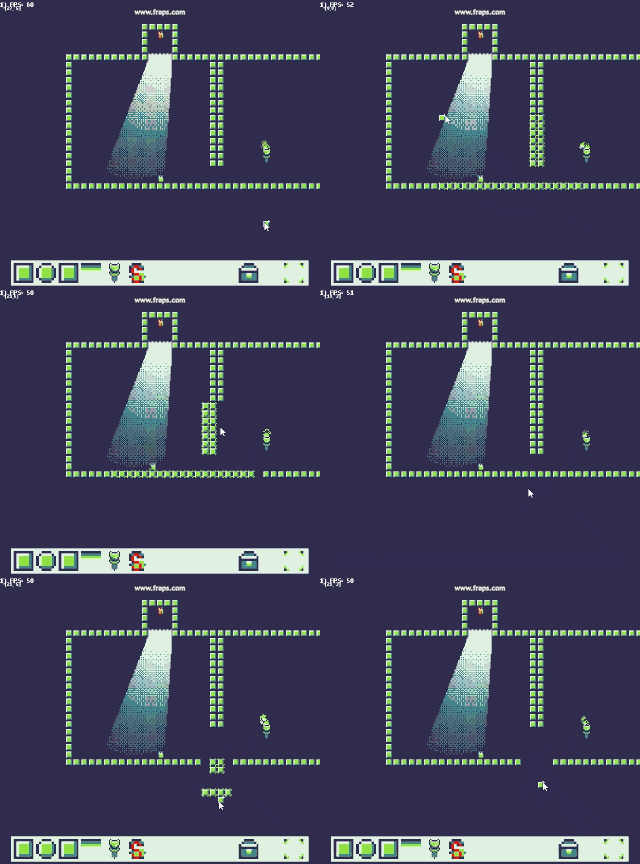
Another tool I added was a 'Multiselect'. Using this I can select several level elements at once, and move them around as a group. This feature became essential as I started planning out the first area, and realised I wanted to move a group of elements by one block across.
Rounding Up
The current version of the first area of the game can be seen below:

And that's it. Hopefully Milestone #4 should be done a lot sooner as I've significantly decreased the scope of it.
Thanks for reading.
Untitled Gameboy Game
A unique metroidvania platformer.
| Status | In development |
| Author | Robo_Chiz |
| Genre | Platformer |
| Tags | Game Boy, Metroidvania, Retro |
More posts
- Milestone #2 - Map Screens, Game Jams & Level ProgressionJul 26, 2020
- Milestone #1 - Engine RevampJul 26, 2020
- Initial DevlogJul 26, 2020
